Support
Using Connect
Using Templates in Connect

Using Templates in Connect

Learn how to make custom html apps using pre-built templates in Screenfeed Connect; including customization ,connecting data, and publishing to a url as well as creating your own custom templates for future use.

Table of Contents

Why use Connect templates?
Get automatically updating custom HTML apps up and running faster on your digital sign, leveraging fully editable pre-built templates in Connect.
Keywords:
Directory, Leader Board, Menu Board, Google Calendar, Microsoft Calendar, Room Schedule, KPI Dashboards, Featured People, Countdowns, Work Anniversaries, Donor Walls, Progress Boards, Custom Dynamic Content.
Try it out

Step By Step Walkthrough

Before you create an app from a template you will need to have access to Connect. If you are unsure if you have access, follow this link to learn more about Getting Started with Connect.
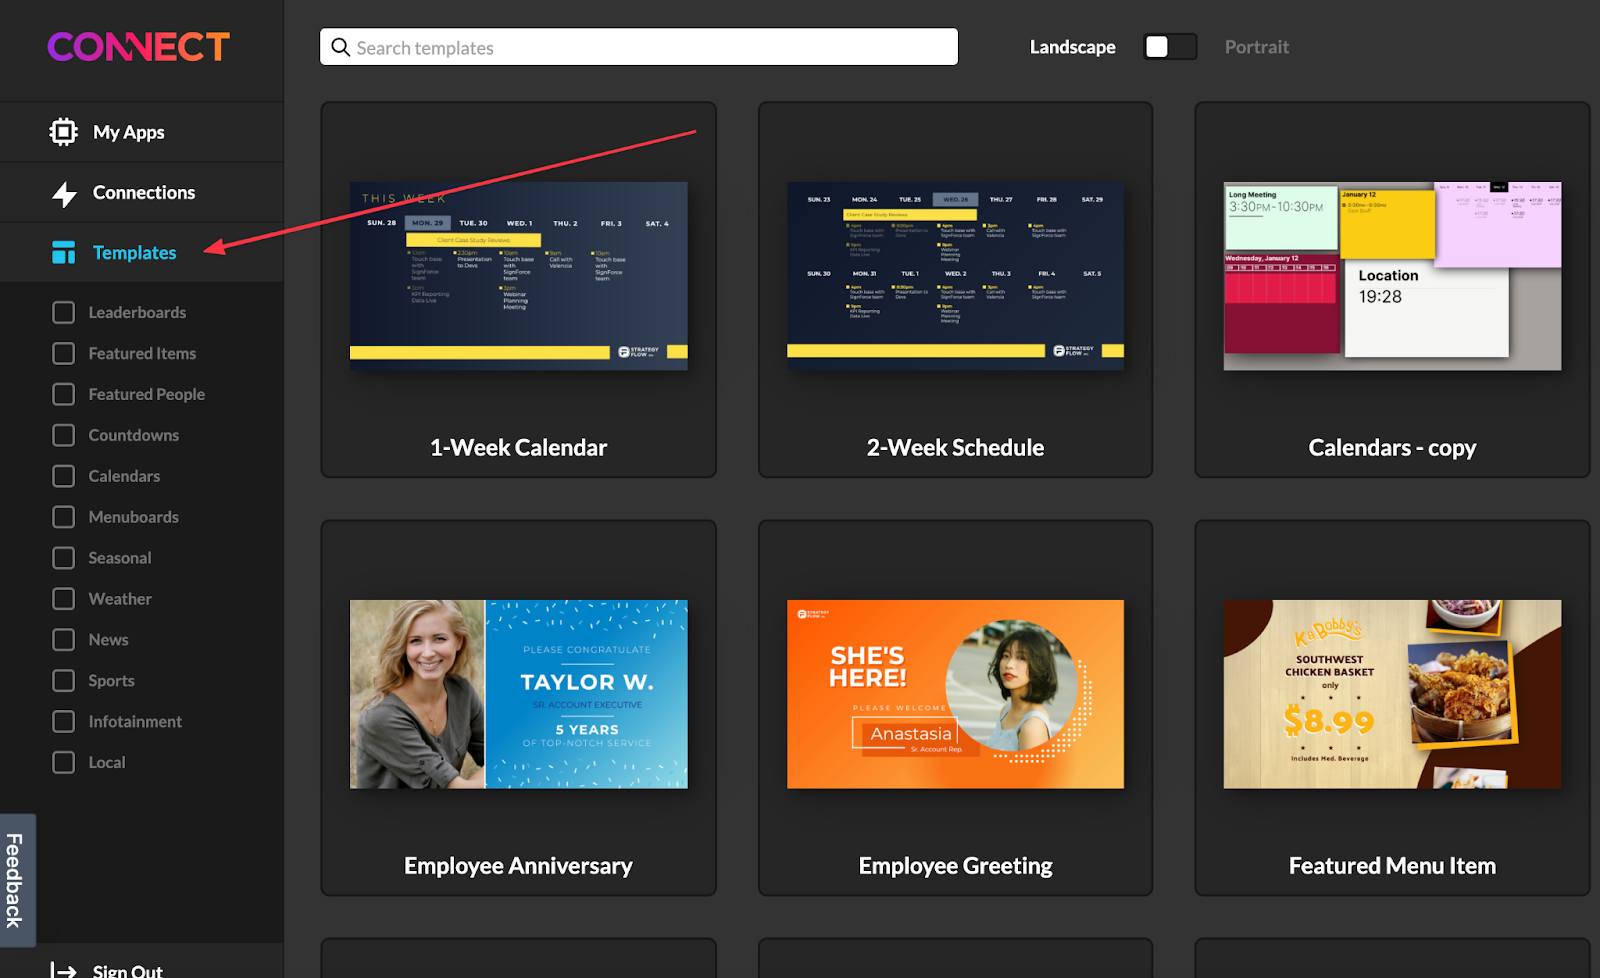
Choose to make an app from template

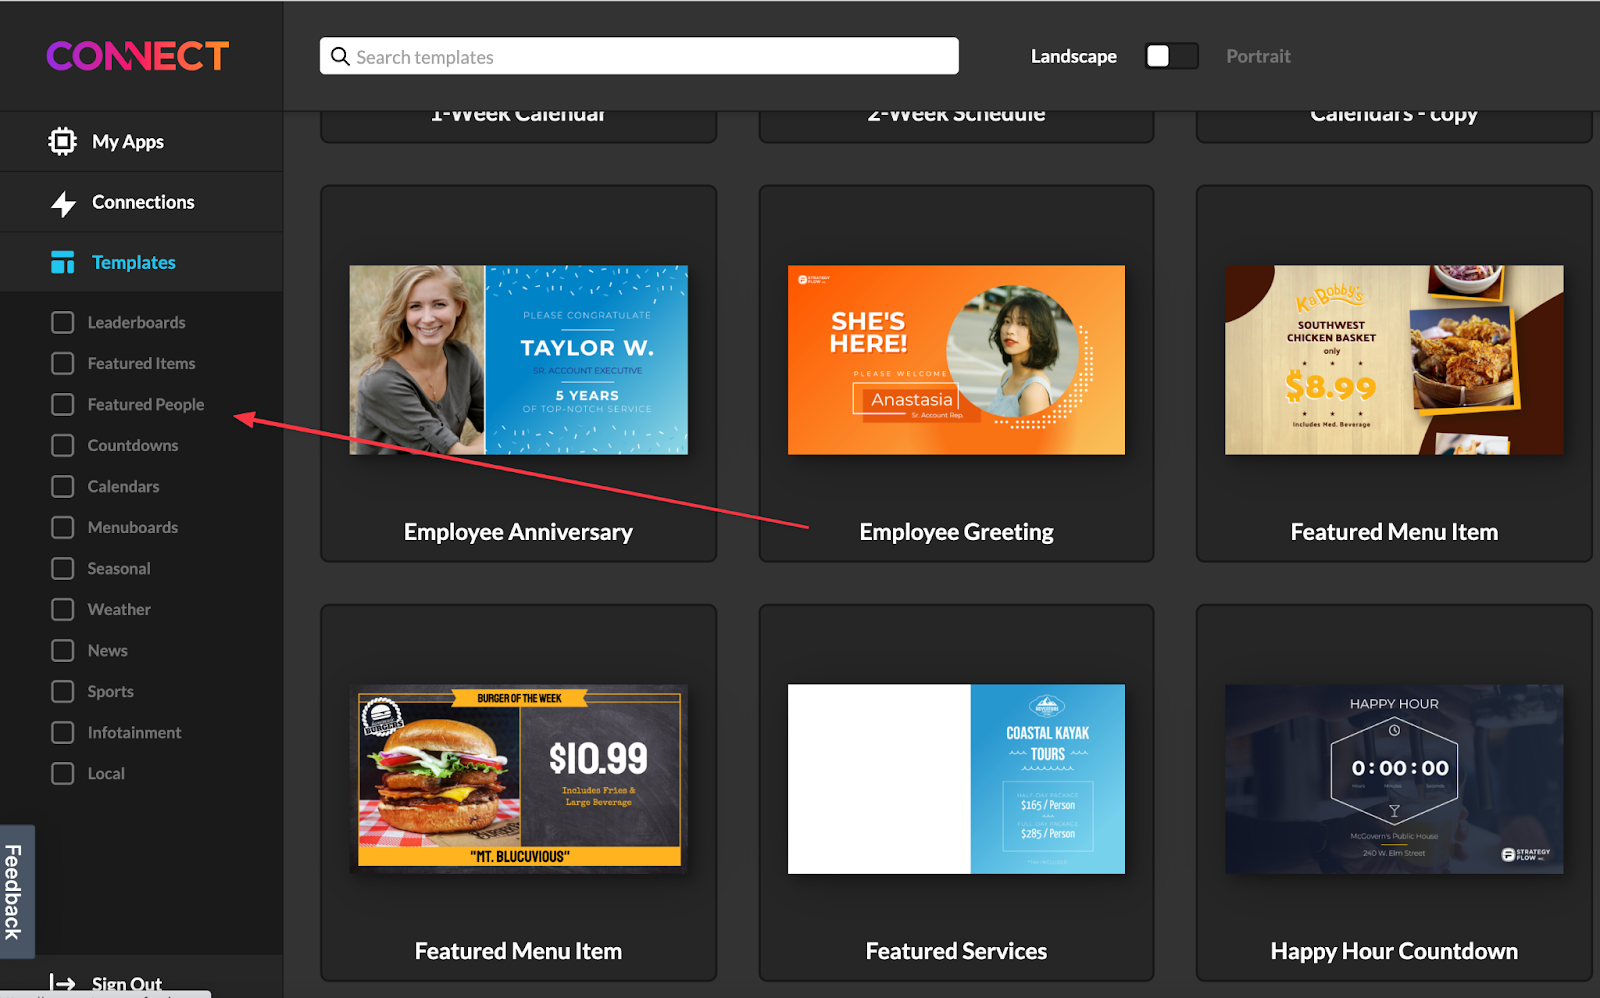
  1. Choose from one of our pre-built templates to get started quickly. Choose templates from the left menu in Connect to browse the selection of pre-built templates.

  1. Click on the search in the top of the window to search for a template by title or keyword.
  1. Click on the orientation toggle button to filter the templates based on orientation either landscape or portrait.
  1. Click on the category buttons on the left to further filter the templates. 
  1. Scroll to the browse templates section to view available pre-built templates.
  2. Click on the template thumbnail you want to use. 
  1. You will see a template detail page that will show you the dimensions of the template.  Click on create app from template to launch the template as a new App in App Builder.

Customize the App

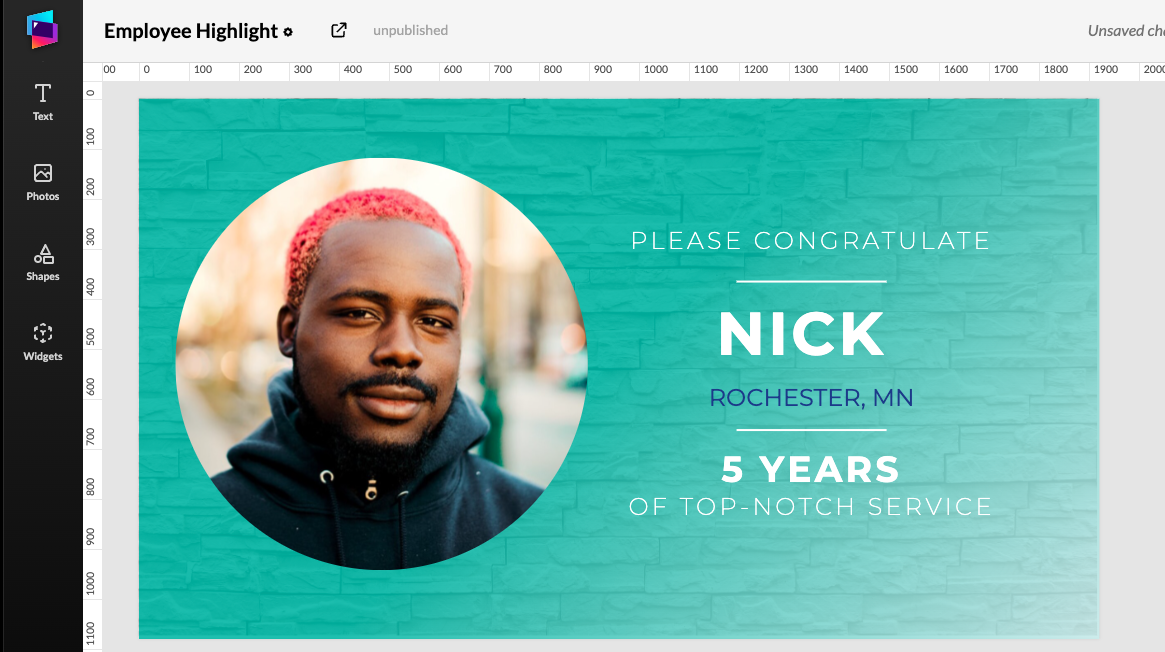
  1. Templates in Connect are fully editable. You can freely add components, data widgets and completely redesign the app altogether to fit your needs. 

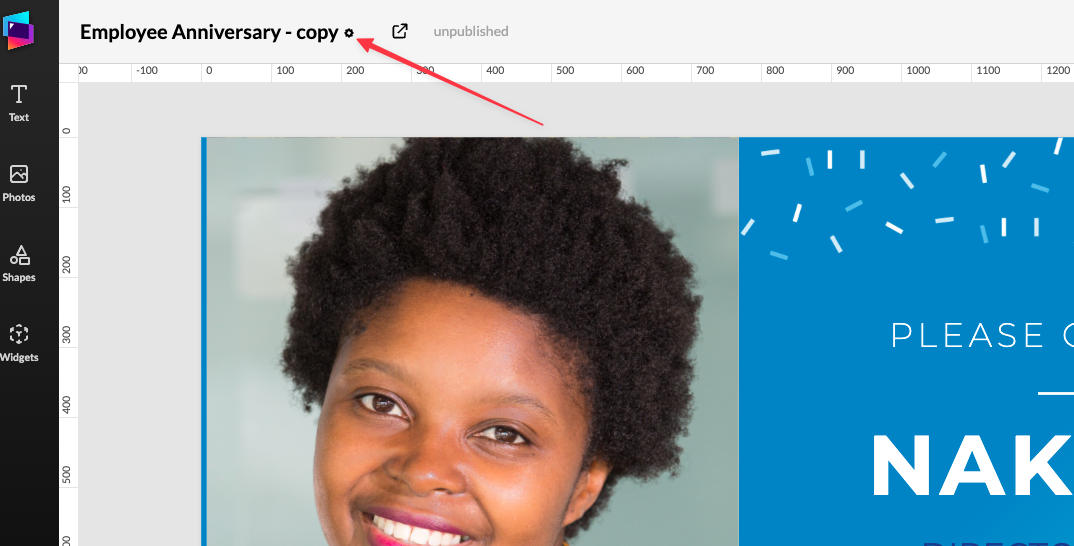
  1. Rename and resize the app by clicking on the gear next to the app name in the top left corner. 

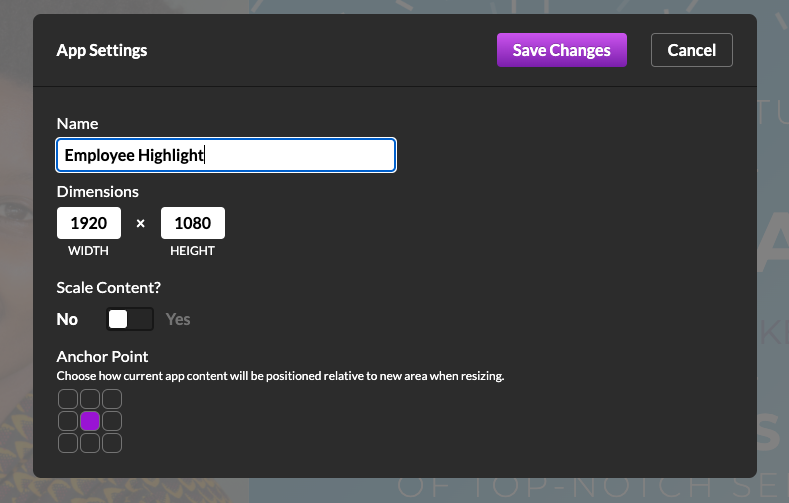
  1. A modal window will appear that contains fields for Name, Dimensions and the ability to smartly scale the content if new dimensions are chosen. 
  1. Clicking Save changes will result in a warning if any changes were made to the app. Click Save changes again to confirm. 

  1. Components that are not data connected by default will be locked but are fully editable. Select the component to make changes. In the right hand properties menu click on unlock. 
  1. Now that the element is unlocked it can be modified in the right properties panel, or removed by tapping the delete key on your keyboard. 

Connect your own Data using the Replace Data function

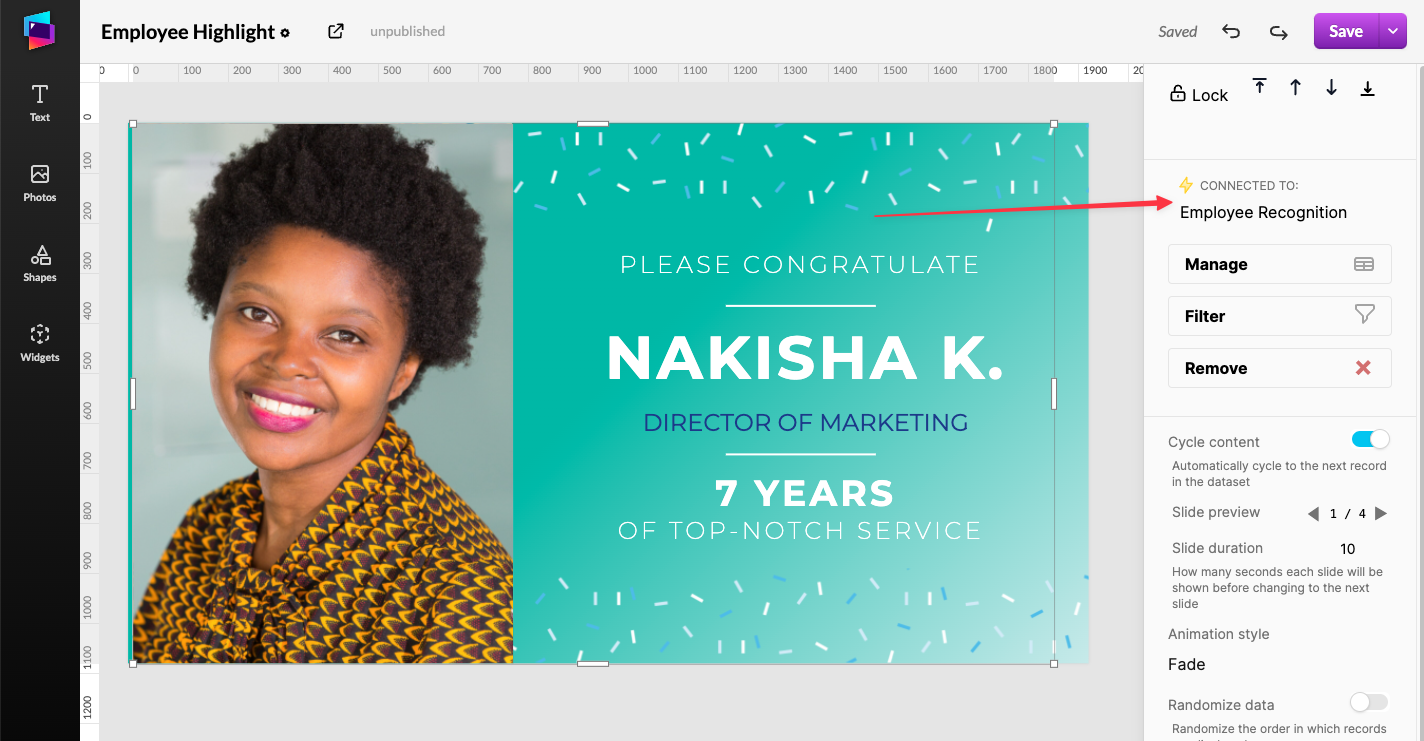
  1. All templates were created with a connected data set in mind. If you click on the App Builder canvas the components that are unlocked by default are data widgets. 

  1. In this example the repeater widget is the data connected element. Once selected the right hand properties menu will appear listing the data connection at the top of the window. 

  1. Click on Manage under the name of the data connection to see the existing connection schema. 

  1. See a preview of the existing schema under the data grid tab. 

Optionally you can download the existing data to your computer as  a csv or json file by clicking on export. 

  1. Replace the data in the widget by choosing the Replace Data tab. 

  1. Select an existing data connection or create a new connection to use to replace the data connection. Follow this link more information on creating data connections

  1. Once the replacement data has been chosen or created, you will be presented with a preview of the replacement data. Click on Looks Good, Continue to begin mapping the data. 

  1. Match what the appropriate replacement data columns from the replacement connection by clicking on each drop down field then click continue. 

  1. Now the app is showing the replacement data.

Create your own template

  1. Start creating a template by opening the app you want to make a template out of in App Builder.
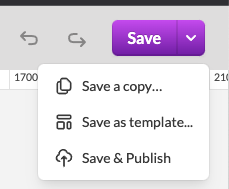
  1. To save your app as a template, click on the arrow to the right of the Save button and select Save as Template. 

  1. You will be redirected to a page where you can edit the details of your new template. 

  1. Click on Edit Details to change the details of your template. 

  1. Rename your template by clicking on the name of your template then typing in a new name. 
  2. By default your template will be named the same as your app. 

  1. Below the preview of your template on the left is a field for you to enter in a description of your template. 

  1. To the right is the option for selecting a category for your template. 
  2. You can also add in keywords for easier searching in templates. 

  1. Add keywords to your template by clicking on the add button (+) below the Keywords label. 
  2. Type in the keyword you would like to set, then hit enter or return on your keyboard. 

  1. Click on the X next to a keyword to remove a keyword.

  1. Click the Save changes button above your template name to save the changes to your template.

How to edit a template your created

  1. In Connect select the Templates option from the left menu. 

  1. Click on the template you would like to edit, in the template details page click on the Edit Template button. This will bring you to App Builder where you can edit your template. 

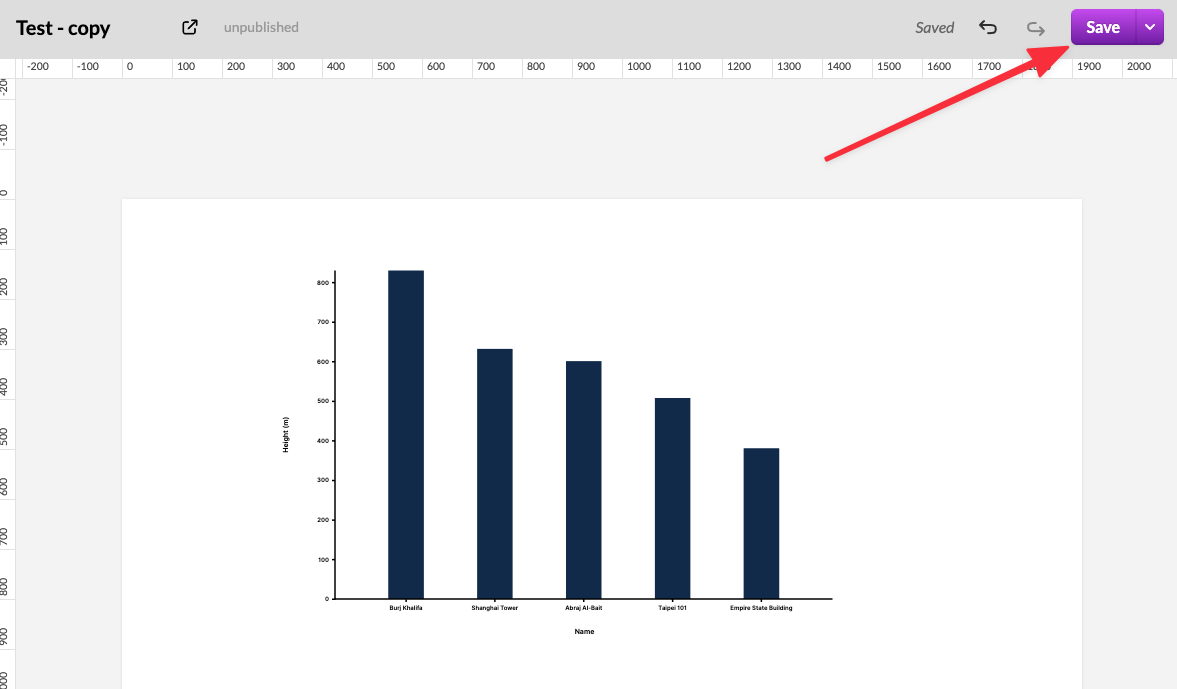
  1. You can edit your template with all the same App Builder functionality used to create an app. Once you have made changes to your template. Click on Save in the top right corner to save your changes. 

Frequently Asked Questions
Is there a limit to templates with my subscription of Connect?
No, you can use as many templates as you like to create apps for the screens subscribed to Connect. This means one screen can have a menu-board, directory, clock, calendar, welcome message and more all made in Connect.
Can I change a template completely?
Yes you can, elements in Templates can be adjusted or removed completely. We like to say you can go back to a blank slate with a template if you want, but templates should help you get content created faster.
Do templates by default have conditions applied?
No, currently templates do not have any conditions applied. So the design should not change based on external data.
Can I transfer templates from one account to another?
At this time no, templates you create are for your account only.
Related Articles:

Find Answers in our Knowledge base

Contact us for help

Support available between 9:00am and 5:00pm (CST-06:00), Monday through Friday

America

5115 Excelsior Blvd #129, Minneapolis, MN 55416, USA
info@screenfeed.com
+1 800 461 3002